
During those gray winter days, I find myself craving something that zings and clears the palate—like a burst of sunshine tucked into a comforting treat. Lemon bars, with their bright, tangy filling and buttery crust, do just that. Baking them feels like capturing a little piece of summer and holding onto it through the colder months.
There’s something about the way lemon’s acidity cuts through richness that lifts my mood. I’ve made lemon bars countless times, tweaking the crust here, balancing the tartness there, but the essence remains the same—a simple, honest dessert that always surprises with its freshness. It’s a reminder that even in the dullest moments, a little citrus can brighten everything up.
Focusing on how the tangy brightness of lemon can act as a palate cleanser and mood lifter, especially when baked into something comforting like lemon bars during the dreary winter months.
The story behind this recipe
I first stumbled upon this lemon bar recipe at a tiny bakery when I was traveling through coastal Maine. The owner handed me a fresh slice, and the zingy brightness of the lemon instantly woke up my senses—something I didn’t realize I needed. Since then, I’ve been tinkering with the crust, trying to get that perfect balance of buttery crumb and tangy filling that’s just enough to make your lips pucker without overwhelming. It’s one of those desserts that feels simple but is layered with a bit of history and a lot of personal tweaks, always reminding me of lazy summer afternoons and the magic of a well-balanced bite.
Key ingredients and tips
- Lemon juice: I squeeze fresh lemons until they’re brimming with bright, zesty aroma—skip the bottled stuff for that lively punch that really wakes up the filling. You want it sharp enough to make your lips pucker.
- Lemon zest: Grated finely, it releases essential oils that boost the lemon’s vibrancy—don’t skip this step, it’s like adding a splash of sunshine right into the batter. Keep a close eye so it doesn’t turn bitter.
- Butter: I use unsalted, cold and cubed—scooping it straight from the fridge, then mixing until just combined. The cold helps keep the crust tender and flaky, like a delicate biscuit texture.
- Sugar: I prefer superfine sugar here—it dissolves faster and gives the filling a silky, smooth feel. Adjust if you want it tangier or sweeter, but don’t skimp on the sweetness to balance the tartness.
- Eggs: I beat them lightly before mixing, aiming for a custardy texture—if they’re too large, the filling can get overly runny, so a good balance is key. The eggs give the filling that glossy, slightly jiggly finish.
- Flour: I use all-purpose, just enough to hold everything together without making the crust or filling dense. Too much can make it gritty, so measure carefully and don’t overmix.
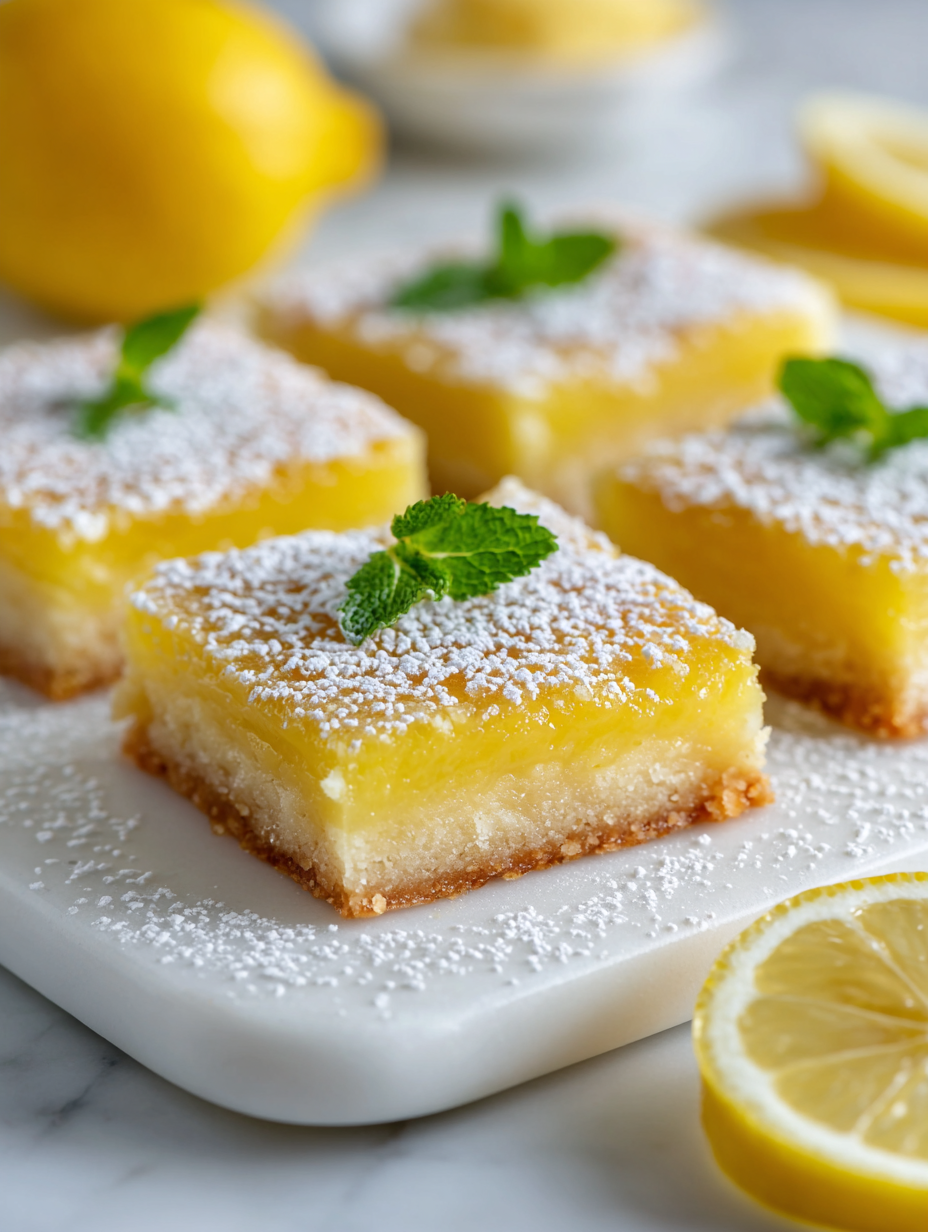
- Powdered sugar: I dust the finished bars with a light sprinkle—sifting it makes a snowy, inviting finish that contrasts beautifully with the tangy filling and buttery crust.
Spotlight on key ingredients
Lemon:
- Lemon juice: I squeeze fresh lemons until they’re brimming with bright, zesty aroma—skip the bottled stuff for that lively punch that really wakes up the filling. You want it sharp enough to make your lips pucker.
- Lemon zest: Grated finely, it releases essential oils that boost the lemon’s vibrancy—don’t skip this step, it’s like adding a splash of sunshine right into the batter. Keep a close eye so it doesn’t turn bitter.
Butter and Sugar:
- Butter: I use unsalted, cold and cubed—scooping it straight from the fridge, then mixing until just combined. The cold helps keep the crust tender and flaky, like a delicate biscuit texture.
- Sugar: I prefer superfine sugar here—it dissolves faster and gives the filling a silky, smooth feel. Adjust if you want it tangier or sweeter, but don’t skimp on the sweetness to balance the tartness.
Notes for ingredient swaps
- Dairy-Free: Use coconut oil or vegan butter instead of butter. The crust will be slightly different in texture, softer and less flaky, but still tasty.
- Sugar Alternatives: Swap in honey or maple syrup for granulated sugar. Expect a richer, more caramel-like flavor with a slightly denser texture.
- Gluten-Free: Replace all-purpose flour with almond flour or a gluten-free baking blend. The crust may be a bit more delicate and crumbly.
- Lemon Juice: If fresh lemons aren’t available, bottled lemon juice works in a pinch. It’s less vibrant, but still gives that citrus tang.
- Lemon Zest: Dried lemon zest or lemon extract can substitute fresh zest. Use sparingly; the flavor will be less intense and more artificial.
- Eggs: For a vegan version, try aquafaba (chickpea brine). The filling might be slightly less custardy but still holds together well.
- Powdered Sugar: Use a light dusting of coconut sugar or icing sugar. It may affect the appearance slightly but won’t compromise sweetness.
Equipment & Tools
- 9-inch square baking pan: To hold the crust and filling for baking.
- Mixing bowls: To prepare the crust and filling separately.
- Pastry cutter or fork: To cut in cold butter for the crust.
- Whisk: To blend the filling ingredients smoothly.
- Wire rack: To cool the baked bars evenly.
- Sifter: To dust powdered sugar on top for presentation.
- Sharp knife: To cut clean slices once cooled.
Step-by-step guide to Lemon Bars
- Preheat your oven to 175°C (350°F). Use a 9-inch square baking pan. Grease the pan lightly with butter or line with parchment for easy removal.
- Make the crust: In a mixing bowl, combine 1 cup (125g) of all-purpose flour, 1/4 cup (50g) of sugar, and a pinch of salt. Add 1/2 cup (115g) of cold, cubed unsalted butter. Use a pastry cutter or your fingers to blend until the mixture resembles coarse crumbs. Press evenly into the bottom of the prepared pan. Bake for 20 minutes until lightly golden.
- Prepare the filling: While the crust bakes, whisk together 3 large eggs, 1 1/2 cups (300g) of granulated sugar, 1/4 cup (30g) of all-purpose flour, 1/2 teaspoon of baking powder, 1/4 teaspoon of salt, 1/4 cup (60ml) of fresh lemon juice, and 2 tablespoons of lemon zest. Mix until smooth and well combined.
- Pour the lemon filling over the hot crust straight from the oven. Smooth the top with a spatula to ensure even distribution.
- Bake for an additional 20-25 minutes. The filling should be set at the edges but slightly jiggly in the center. Watch for a light golden hue around the edges. If the top browns too quickly, tent loosely with foil.
- Remove the pan from the oven and let it cool on a wire rack for at least 2 hours. The filling will firm up as it cools, making it easier to cut clean slices.
- Once cooled, dust the top generously with sifted powdered sugar. Use a sharp knife to cut into squares. For the cleanest edges, wipe the knife clean between cuts.
- Rest the bars at room temperature for about 30 minutes before serving. Store leftovers in an airtight container in the fridge for up to 3 days. Reheat gently if desired—warm until just slightly soft, then dust with a little more powdered sugar if needed.
Let the bars cool completely on a wire rack. Dust with powdered sugar. Slice into neat squares using a warmed knife for clean edges. Serve at room temperature or slightly chilled for a firmer bite.
How to Know It’s Done
- The crust is golden and crisp before adding the filling.
- The filling is set around the edges but slightly jiggly in the center when baked.
- The top is lightly golden and the filling is shiny and smooth after cooling.
Lemon Bars
Ingredients
Equipment
Method
- Preheat your oven to 175°C (350°F). Lightly grease your 9-inch square pan or line it with parchment paper for easy removal.
- In a mixing bowl, combine 1 cup of all-purpose flour, 1/4 cup of sugar, and a pinch of salt. Add the cold, cubed butter and use a pastry cutter or your fingers to cut it in until the mixture resembles coarse crumbs.
- Press this crumb mixture evenly into the bottom of your prepared pan. Use the back of a spoon or your fingers to smooth it out, then bake for about 20 minutes until the crust is just golden around the edges.
- While the crust bakes, whisk together the eggs, 1 1/2 cups sugar, 1/4 cup flour, lemon juice, and lemon zest in a bowl until the mixture is smooth and slightly glossy.
- Once the crust is baked, carefully pour the lemon filling over it while it's still warm. Return the pan to the oven and bake for an additional 20-25 minutes, until the filling is set around the edges but still slightly jiggly in the center.
- Remove the pan from the oven and let the lemon bars cool on a wire rack for about 2 hours. This cooling allows the filling to set completely and develop a smooth, glossy surface.
- Once cooled, sift powdered sugar over the top for a snowy finish. Use a sharp knife to cut into neat squares, wiping the blade between cuts for clean edges.
- Serve the lemon bars at room temperature or chilled, enjoying the bright, tangy flavor balanced with the buttery crust. Store leftovers in an airtight container in the fridge for up to 3 days.
Tips for Perfect Lemon Bars
- Use chilled butter: Cold butter creates a tender, flaky crust that melts in your mouth, not a tough one. Keep it in the fridge until ready to mix.
- Grate the lemon zest finely: This releases more essential oils and brightens the flavor. Avoid the bitter white pith; use only the colorful outer layer.
- Pre-bake the crust: Baking it for 20 minutes until lightly golden sets a sturdy base that won’t soggy when you add the lemon filling. Watch for a gentle crackle on the surface.
- Mix the filling smoothly: Whisk until no lumps remain. A silky, glossy mixture ensures a custardy texture that’s not grainy or runny.
- Check for jiggle: The bars are done when the edges are golden and the center jiggles slightly—resist the urge to overbake, or it’ll turn rubbery.
- Dust with powdered sugar: Sift before sprinkling to avoid clumps and get an even, snow-like finish that enhances the tartness visually and flavor-wise.
- Cool completely: Let the bars rest at room temp for at least 2 hours. This helps set the filling, making slicing easier and cleaner, with a satisfying bite.
Common Lemon Bar Mistakes & Fixes
- FORGOT to chill butter → Use cold butter for flaky crust.
- DUMPED lemon zest → Measure and grate finely for vibrant flavor.
- OVER-TORCHED crust → Bake until golden, not dark, to avoid bitterness.
- MISSED the jiggle test → Center should wobble slightly when done.
Quick Fixes and Pantry Swaps
- If/When the filling is too runny, add an extra teaspoon of flour and chill before baking.
- Splash a little lemon juice on the crust if it’s too pale and needs more zing.
- Patch cracks in the crust with a bit of extra dough before baking to keep it intact.
- Shield the edges with foil if they brown too quickly during baking for even color.
- Rescue a burnt crust by gently scraping off the char and adding a fresh layer of crust or crumbs.
Prep, store, and reheat tips
- You can prepare the crust and lemon filling a day ahead. Cover tightly and keep in the fridge; the flavors will meld and intensify overnight.
- Store baked lemon bars in an airtight container in the fridge for up to 3 days. The citrus brightness might mellow slightly, but the texture stays firm and satisfying.
- For longer storage, freeze bars wrapped individually in plastic wrap and then in foil. They’ll keep well for up to a month, with the lemon flavor remaining vibrant upon thawing.
- Reheating is optional—warm in a low oven (around 150°C/300°F) for 10 minutes until just slightly soft, or enjoy chilled for a firmer bite. Expect the aroma of lemon and butter to fill your kitchen as they warm.
Top questions about Lemon Bars
1. Why use fresh lemon juice instead of bottled?
Fresh lemon juice gives the bars a bright, tangy flavor that bottled juice can’t quite match. It also reacts with the sugar, creating a lively aroma during baking.
2. How do I know when the crust is done?
The crust should be golden and slightly firm, with a flaky texture. If it’s pale or soggy, it might need a few more minutes in the oven or a thinner layer.
3. How can I tell if the lemon filling is baked perfectly?
The filling is ready when it’s just set around the edges but still jiggles slightly in the center. It shouldn’t be liquid or overly firm.
4. Should I dust the lemon bars with powdered sugar?
Dust the cooled bars with sifted powdered sugar just before serving. It adds a sweet, snowy finish that balances the tartness and makes them look pretty.
5. Can I make lemon bars ahead of time?
You can prepare the crust and filling a day ahead. Keep them covered in the fridge, and assemble or bake just before serving for the freshest taste.
6. How long do lemon bars stay fresh?
Store leftovers in an airtight container in the fridge for up to 3 days. Reheat gently or serve chilled—both ways bring out the bright lemon aroma.
7. Can I freeze lemon bars?
Freeze individual bars wrapped tightly in plastic and foil for up to a month. Thaw at room temperature or warm slightly in the oven for best texture.
8. What if my lemon filling is too runny?
If the filling looks too runny after baking, sprinkle a teaspoon of flour on top and give it a few more minutes in the oven. It helps set everything right.
9. How do I fix uneven baking or browning?
If the edges brown too quickly, tent the pan with foil during baking. For uneven crust color, rotate the pan halfway through baking.
10. How do I cut perfect lemon bars?
Use a sharp, warm knife to cut the bars. Wipe it clean between cuts to get neat edges and avoid squishing the filling.
Baking these lemon bars during the winter feels like a small act of rebellion against the gloom, a burst of citrus that sparks the senses and lifts the spirits. The bright, tangy flavor and tender crust make every bite a reminder that simple ingredients, combined with a little patience, can deliver real comfort.
They’re perfect for sharing, for a quick afternoon treat, or just for sneaking a little sunshine into your day. Once cooled, the bars hold their shape nicely, and the flavor still manages to surprise, even after sitting for a while. It’s a recipe that keeps giving, no matter how many slices disappear.