
These chocolate coconut bars take me straight back to lazy weekend afternoons spent baking with my grandma. We’d mix up a messy, sticky batter that was more about the joy of getting our hands in the bowl than perfect results. There’s something about the imperfect, chunky edges and oozing chocolate that makes these bars feel like a warm hug from childhood.
Baking them isn’t about precision — it’s about capturing that nostalgic, carefree spirit. I love how the toasted coconut crackles under the chocolate layer, and how each bite offers a bittersweet punch of cocoa with a chewy coconut heart. It’s a simple recipe, but it’s packed with memories and a little bit of chaos, just like those slow weekend mornings.
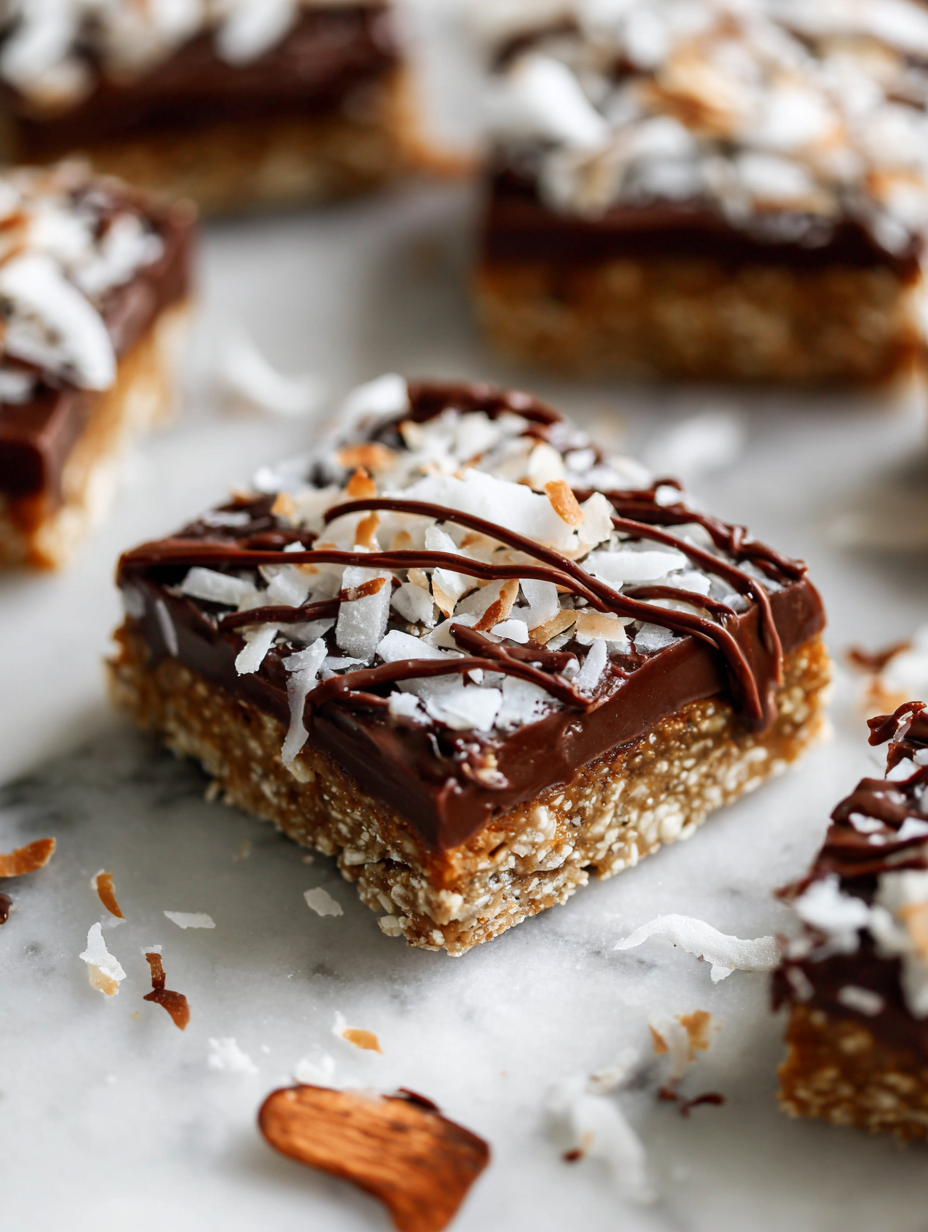
Focusing on the nostalgic comfort of childhood weekend baking, this recipe emphasizes the imperfect, handmade charm of homemade chocolate coconut bars, celebrating the messy, joyful process over perfect presentation.
The story behind this recipe
- This recipe harks back to lazy weekend afternoons in my childhood kitchen, where my mom would let me stir the melting chocolate and toast the coconut until it was just golden and fragrant. The messy, sticky batter was more about the fun of making than perfect results, and those rough edges and gooey chocolate bits always felt like little treasures.
- What I love most is how these bars carry that sense of carefree baking, where chaos and joy go hand in hand. The toasted coconut crackles softly as you cut into the bars, and the richness of melted chocolate paired with chewy coconut makes every bite feel like a small, indulgent rebellion. They’re simple, imperfect, and full of memories I keep close.
- heading: The story behind this recipe
Ingredient breakdown
- Coconut flakes: I prefer toasted coconut for that nutty aroma and crunchy bite, but you can use untoasted if you want a softer texture—just toast it until golden and fragrant, about 5 minutes at 180°C (350°F).
- Dark chocolate: I love a deep, bittersweet cocoa punch, but if you prefer a sweeter finish, go for semi-sweet or milk chocolate—just keep an eye on it as it melts to avoid burning.
- Sweetened condensed milk: It binds everything together with its rich, milky sweetness, but if you’re after a less sweet bar, try coconut cream or a mix of honey and coconut oil; it’ll change the texture, but still hold well.
- Butter: I use unsalted for control over salt levels, but salted butter adds a subtle savory note—just watch the salt, especially if your chocolate is already salty.
- Vanilla extract: It enhances the coconut and chocolate, making everything pop, but a splash of coconut or almond extract can add a little extra tropical vibe—use sparingly.
- Salt: Just a pinch to balance the sweetness and bring out the coconut and chocolate flavors—don’t skip it, even if you’re shy about salt.
- Optional toppings: I sometimes sprinkle toasted coconut or flaky sea salt on top before chilling for added texture and flavor contrast—feel free to experiment with nuts or dried fruit.
Spotlight on key ingredients
Coconut flakes:
- I prefer toasted coconut for that nutty aroma and crunchy bite, but you can use untoasted if you want a softer texture—just toast it until golden and fragrant, about 5 minutes at 180°C (350°F).
- Dark chocolate: I love a deep, bittersweet cocoa punch, but if you prefer a sweeter finish, go for semi-sweet or milk chocolate—just keep an eye on it as it melts to avoid burning.
- Sweetened condensed milk: It binds everything together with its rich, milky sweetness, but if you’re after a less sweet bar, try coconut cream or a mix of honey and coconut oil; it’ll change the texture, but still hold well.
Dark chocolate:
- Its glossy, velvety melt and bittersweet punch make or break the bar’s richness. Keep heat low to prevent scorching, and stir until smooth and shiny.
- Coconut flakes: They toast quickly, releasing a fragrant, nutty aroma. During baking, they crackle softly under the chocolate, adding delightful texture in every bite.
- Sweetened condensed milk: It creates that sticky, chewy base that holds everything together. Watch for it to turn slightly golden as you stir, signaling it’s ready to mix in.
Notes for ingredient swaps
- Coconut flakes: I prefer toasted coconut for that nutty aroma and crunchy bite, but you can use untoasted if you want a softer texture—just toast it until golden and fragrant, about 5 minutes at 180°C (350°F).
- Dark chocolate: I love a deep, bittersweet cocoa punch, but if you prefer a sweeter finish, go for semi-sweet or milk chocolate—just keep an eye on it as it melts to avoid burning.
- Sweetened condensed milk: It binds everything together with its rich, milky sweetness, but if you’re after a less sweet bar, try coconut cream or a mix of honey and coconut oil; it’ll change the texture, but still hold well.
- Butter: I use unsalted for control over salt levels, but salted butter adds a subtle savory note—just watch the salt, especially if your chocolate is already salty.
- Vanilla extract: It enhances the coconut and chocolate, making everything pop, but a splash of coconut or almond extract can add a little extra tropical vibe—use sparingly.
- Salt: Just a pinch to balance the sweetness and bring out the coconut and chocolate flavors—don’t skip it, even if you’re shy about salt.
- Optional toppings: I sometimes sprinkle toasted coconut or flaky sea salt on top before chilling for added texture and flavor contrast—feel free to experiment with nuts or dried fruit.
Equipment & Tools
- 20×20 cm (8×8 inch) baking pan: To shape and chill the bars
- Parchment paper: For easy removal and clean edges
- Saucepan: To melt chocolate and butter gently
- Mixing bowl: To combine coconut and sweetened condensed milk
- Spatula: For mixing and pressing the mixture
- Sharp knife: To cut clean, even bars
Step-by-step guide to chocolate coconut bars
- Equipment & Tools: Line a 20×20 cm (8×8 inch) baking pan with parchment paper—makes for easy removal. Use a saucepan for melting chocolate and butter, a mixing bowl for the coconut mixture, and a spatula for stirring.
- Toast the coconut: Spread 1 1/2 cups of shredded coconut on a baking sheet. Toast at 180°C (350°F) for about 5 minutes, stirring halfway, until golden and fragrant. Keep an eye on it so it doesn’t burn.
- Melt chocolate and butter: In a saucepan over low heat, gently melt 200g dark chocolate with 50g unsalted butter. Stir continuously until smooth. Smell the rich cocoa and buttery aroma wafting up? That’s your cue.
- Prepare the coconut base: In a mixing bowl, combine the toasted coconut (save a little for topping if desired), 1 can sweetened condensed milk, and 1 teaspoon vanilla extract. Mix until sticky and evenly coated.
- Combine and press: Pour the melted chocolate mixture into the coconut bowl. Stir well until fully combined. Transfer the mixture into your prepared pan, pressing it down firmly with the spatula to create an even layer. Don’t worry if it’s a little messy—charm is part of the process.
- Chill and set: Place the pan in the fridge for at least 2 hours, or until the mixture is firm and holds a clean edge when sliced. If you’re in a rush, pop it in the freezer for about 1 hour, but avoid freezing too long or it might get icy.
- Cut into bars: Use a sharp knife to slice into squares or rectangles. Wipe the knife with a warm damp cloth between cuts for clean edges. Notice the glossy, crackling top and the chewy coconut beneath? That’s perfect.
- Final touch: If you saved some toasted coconut, sprinkle it on top for texture and visual appeal. Add flaky sea salt here if you like a salty-sweet contrast. Let the bars sit for 10 minutes at room temp before serving to soften slightly.
Chill the bars until firm, at least 2 hours. Slice with a warm, sharp knife. Serve at room temperature for the best texture and flavor, revealing the glossy top and chewy coconut interior.
How to Know It’s Done
- Chocolate is fully melted and glossy, no lumps remain.
- Coconut mixture is sticky and holds together when pressed.
- Bars are firm and hold shape after chilling, with a slight sheen on top.
Chocolate Coconut Bars
Ingredients
Equipment
Method
- Line your baking pan with parchment paper, leaving some overhang for easy removal.
- Spread the shredded coconut on a baking sheet and toast in a preheated oven at 180°C (350°F) for about 5 minutes, stirring halfway, until golden and fragrant.
- In a saucepan over low heat, gently melt the dark chocolate and butter together, stirring constantly until smooth and glossy.
- In a mixing bowl, combine the toasted coconut, sweetened condensed milk, vanilla extract, and a pinch of salt. Mix well until sticky and evenly coated.
- Pour the melted chocolate mixture into the coconut bowl and stir thoroughly until everything is well combined and sticky.
- Transfer the mixture into your prepared pan, pressing it down firmly with a spatula to create an even layer. This helps the bars hold together neatly.
- Optional: sprinkle the remaining toasted coconut or flaky sea salt on top for extra texture and flavor.
- Place the pan in the fridge and chill for at least 2 hours, or until the mixture is firm and set.
- Once chilled, lift the set mixture out of the pan using the parchment overhang and place on a cutting board.
- Use a sharp knife to cut into squares or rectangles, wiping the knife with a warm cloth between cuts for clean edges.
- Serve the bars at room temperature, enjoying the glossy chocolate top, crunchy toasted coconut, and chewy coconut interior.
Pro tips for perfect bars
- Use room temperature chocolate for a smoother melt, preventing grainy texture.
- Toast coconut flakes until golden and fragrant—this enhances their nutty aroma and crunch.
- Stir continuously when melting chocolate to avoid scorching and achieve a glossy finish.
- Press the coconut mixture firmly into the pan to ensure clean, even slices after chilling.
- Wipe the knife with a warm cloth between cuts for sharp, neat edges without crumbling.
- Chill the bars until fully set—at least 2 hours—so they hold together perfectly when sliced.
- Sprinkle a pinch of flaky sea salt on top before chilling to heighten the chocolate and coconut flavors.
Common mistakes and how to fix them
- FORGOT to adjust oven temperature → set a timer and check for doneness visually.
- DUMPED in all ingredients at once → add ingredients gradually for even mixing.
- OVER-TORCHED chocolate → melt slowly over low heat, stirring constantly.
- MISSED chilling time → ensure bars are fully set before slicing for clean cuts.
Quick fixes and pantry swaps
- When chocolate seizes, splash in a teaspoon of vegetable oil to smooth it out.
- If coconut glaze is too thick, gently warm and stir until pourable.
- DUMPED in too much salt? Rinse briefly with water and pat dry before re-mixing.
- Overbaked coconut? Patch with a quick sprinkle of fresh toasted coconut after chilling.
- Shield delicate edges by lining the pan with parchment for easy removal and clean cuts.
Prep, store, and reheat tips
- Prepare the coconut mixture and melt the chocolate up to a day ahead; keep both covered and chilled, noting that flavors deepen overnight.
- Store the assembled but uncut bars in an airtight container in the fridge for up to 5 days, where the chocolate will firm up and intensify the cocoa aroma.
- For longer storage, wrap bars tightly in plastic wrap and freeze for up to 1 month. Expect a firmer bite upon thawing, with slightly muted coconut sweetness.
- Reheat slices briefly in a low oven (around 150°C/300°F) or microwave in short bursts, watching for melting chocolate and softening coconut—aim for warm, gooey, but not melted to a puddle.
Top questions about chocolate coconut bars
1. How do I know when the bars are done?
Look for a glossy, firm top that cracks slightly when you press it. The edges should be clean and the bars hold their shape well.
2. My chocolate is lumpy or seizes up, what now?
If the chocolate isn’t smooth, gently re-melt with a splash of vegetable oil or warm it slowly over low heat while stirring.
3. How long do these bars last?
Store bars in an airtight container in the fridge for up to 5 days, or freeze for longer storage. Let come to room temp before serving for the best texture.
4. Can I make these dairy-free?
Yes, you can substitute coconut oil for butter for a dairy-free version, but expect a slightly softer, less chewy texture.
5. Do I need to toast the coconut?
Toast the coconut until golden and fragrant—about 5 minutes at 180°C (350°F). It adds crunch and a nutty aroma that really boosts flavor.
6. Can I use different chocolate types?
Use semi-sweet or milk chocolate if you prefer a sweeter, creamier flavor. Just melt gently and watch for burning.
7. How long should I chill the bars?
Chill the mixture until fully firm, at least 2 hours. For quicker setting, freeze for 1 hour but avoid overfreezing to prevent icy texture.
8. What if I overbake or burn the coconut?
If you overbake the coconut or chocolate, rehydrate with a quick brush of honey or sprinkle more toasted coconut after chilling.
9. How do I get clean cuts?
Use a sharp, warm knife and wipe it clean between cuts for neat, clean slices without crumbling or sticking.
10. Any tips for melting chocolate smoothly?
When melting chocolate, do so slowly over low heat or in short bursts in the microwave to prevent scorching or seizing.
Baking these bars always takes me back to lazy weekend mornings, when the smell of toasted coconut and melting chocolate filled the house. There’s something about their imperfect edges and chewy texture that keeps me coming back, even after years. They’re a reminder that good things often come from simple, messy moments in the kitchen.
Sharing them with friends or just sneaking a piece after a long day makes every bite feel a little more special. Ultimately, these bars are about embracing the chaos and savoring the nostalgic comfort of honest, homemade treats.