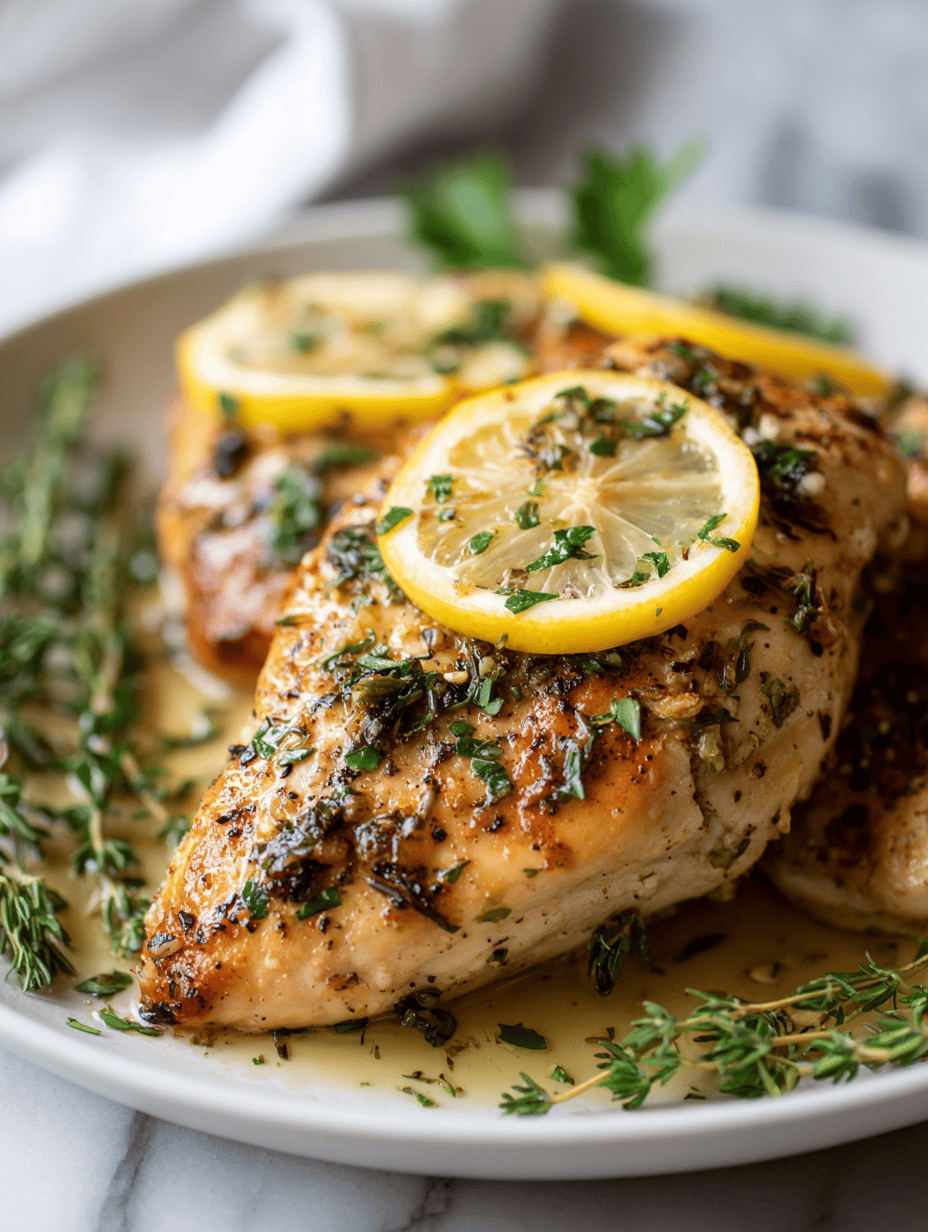
easy chicken breast recipes
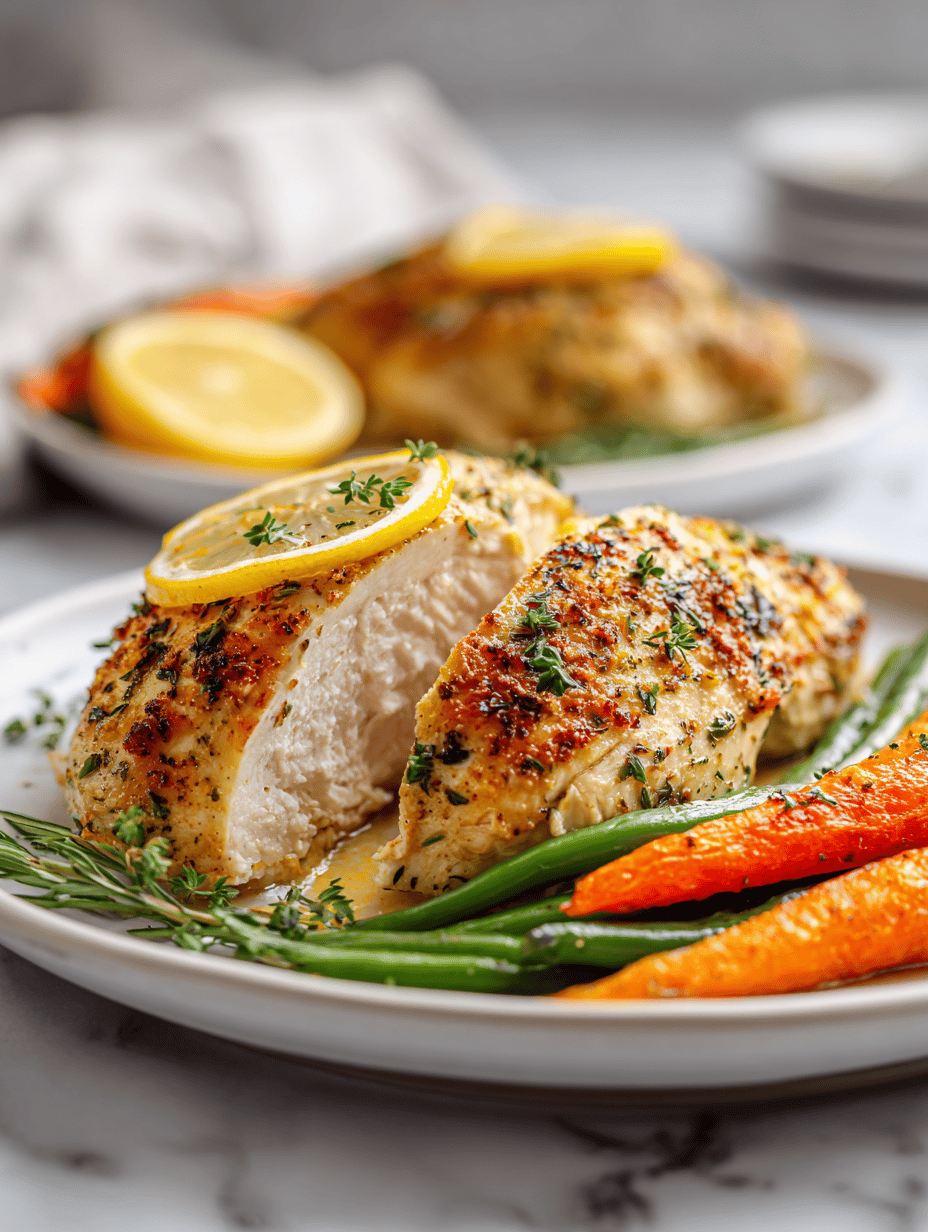
Chicken breasts often get a bad rap for being dry or bland, but I’ve found a simple trick that transforms them. Pressing and baking creates a perfectly tender, evenly cooked piece that’s hard to mess up. This isn’t your usual skillet or grill—it’s a quiet, foolproof method that keeps things straightforward. Why I Keep Coming … Read more