Emeril Lagasse’s Jambalaya: A Deep Dive into the Soul of Creole Cooking
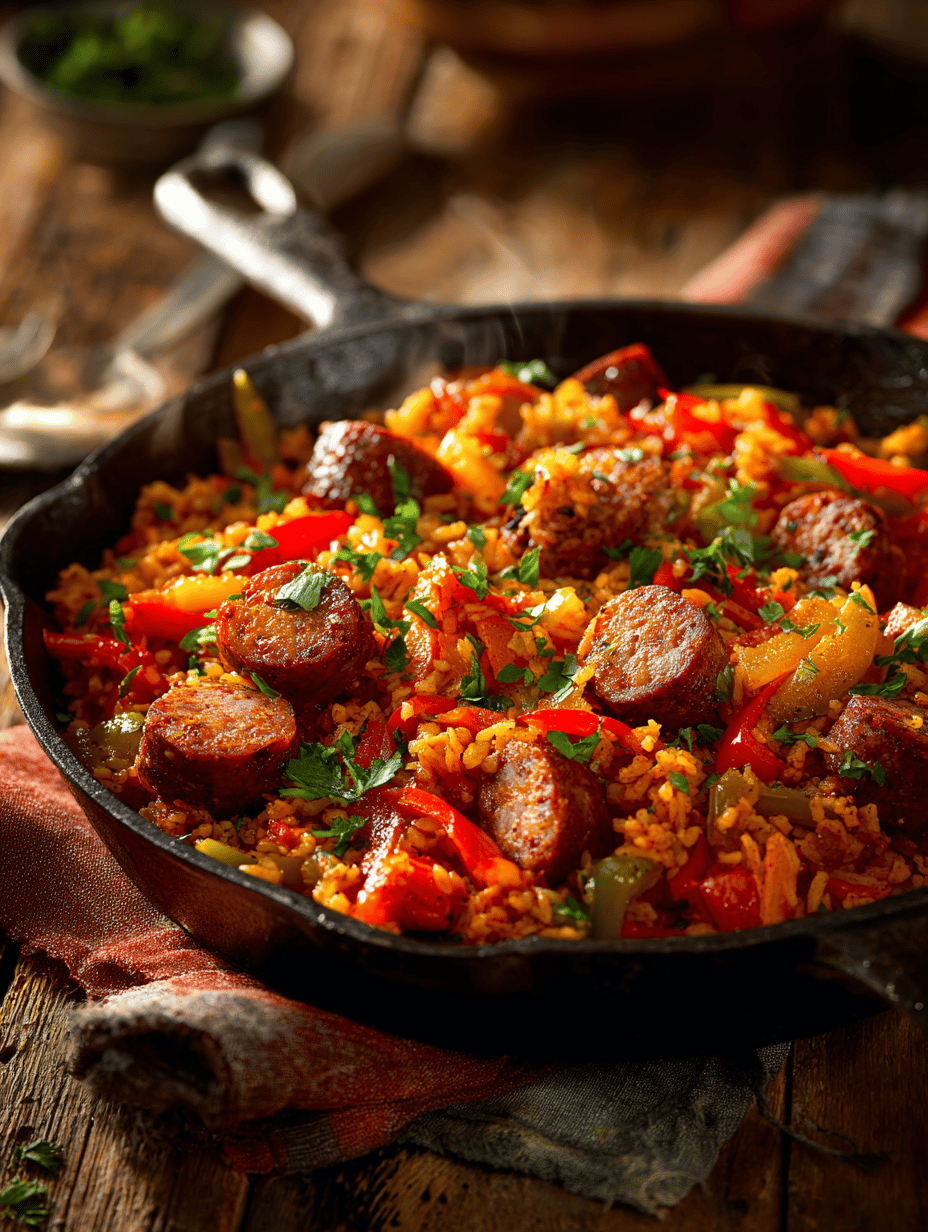
Jambalaya isn’t just a one-pot meal; it’s a story of blending cultures, flavors, and memories. The way the spices cling to rice and the smoky aroma of sausage fills the kitchen with an inviting warmth. It’s a dish that’s both a celebration and a comfort, perfect for sharing with friends or family. Why I Keep … Read more