
Making cheesecake bars that keep a crunchy crust through all that creamy goodness was a little puzzle I didn’t realize I was solving until I got it right. It’s a tricky balance—too much moisture, and the crust turns soft; too little, and it feels like biting into a cookie rather than a bar. After a few batches, I found the sweet spot, and now I can’t go back.
This recipe isn’t just about the final taste, though. It’s about that satisfying crunch you hear when you cut into the bar, the way the crust holds up even after chilling. I love how it transforms a classic cheesecake into something portable, shareable, and just a little more fun to eat. It’s a small victory, every time I get it right, that makes me smile.
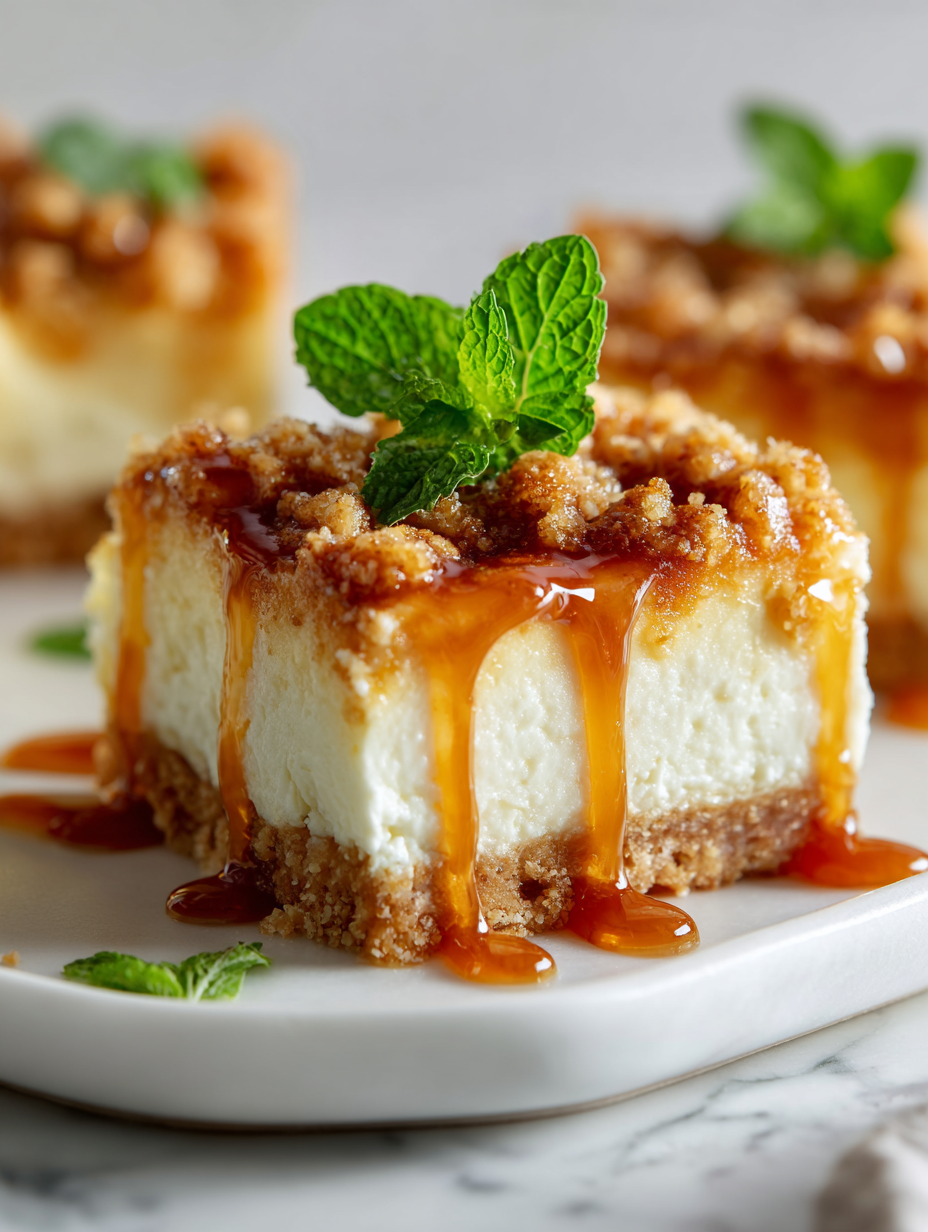
Focusing on how to make cheesecake bars with a crust that stays crunchy beneath the creamy filling, even after refrigeration.
The story behind this recipe
- This recipe came from a lazy Sunday afternoon where I was craving something sweet but didn’t want the usual fuss. I remembered a batch of leftover cream cheese in the fridge and a box of graham crackers sitting lonely on the shelf. Mixing them up into bars just felt right—simple, satisfying, and a little nostalgic.
- Over time, I tinkered with the crust and filling ratios, trying to keep that elusive crunch that stays crisp even after chilling. There’s a kind of quiet triumph in perfecting that balance—knowing you’ve created a treat that holds up through all the slicing and sharing. It’s these small wins that keep me coming back to this simple, honest dessert.
- heading
- story_type
Ingredient breakdown
- Graham cracker crust: I like to pulse the crackers until fine, then mix with melted butter until it feels like damp sand. Skip this step if you prefer a softer crust, but I swear, it’s the crunch that makes these bars special.
- Cream cheese: I use full-fat for that rich, velvety texture. If you want a lighter feel, try part-skim, but don’t expect the same lusciousness. It should smell faintly tangy and inviting when you beat it.
- Sugar: I prefer superfine granulated—dissolves quicker, gives a smoother filling. If you only have regular, just give it a bit extra mixing time. It’s the slight sweetness that balances the tang.
- Lemon juice: Brightens everything, makes the filling pop. Use fresh if you can; the bottled stuff can be dull and flat. Smell it before adding—fresh lemon scent should zing up your senses.
- Eggs: I rely on large eggs, room temperature, to help the filling set smoothly. If you notice a slight crack on the surface during baking, it’s usually a sign to lower the oven temp just a tad.
- Vanilla extract: I always go for pure vanilla—adds warmth and depth. If you’re out, a splash of vanilla sugar works in a pinch, but don’t skip it entirely; it’s the subtle magic.
- Optional toppings: I love a sprinkle of sea salt or a few berries on top. They add contrast—salty crunch or juicy burst—making each bite more interesting.
Spotlight on key ingredients
Graham cracker crust:
- Graham crackers: I crush these until super fine, then mix with butter until it feels like damp sand. They give that iconic crunch that holds up even after chilling.
- Cream cheese: I prefer the full-fat kind—smooth, tangy, and rich. During mixing, it feels silky and slightly sticky, which is exactly what you want for that creamy filling.
Cream cheese & Lemon juice:
- Cream cheese: I prefer the full-fat kind—smooth, tangy, and rich. During mixing, it feels silky and slightly sticky, which is exactly what you want for that creamy filling.
- Lemon juice: Brightens everything. Fresh lemon juice should zing with a citrusy smell that wakes up the palate, making the filling pop with brightness.
Notes for ingredient swaps
- Dairy-Free: Use coconut cream or cashew-based cheese alternatives. Expect a slightly different texture and a hint of coconut flavor or nuttiness.
- Gluten-Free: Swap regular graham crackers for gluten-free digestives or almond flour crust. The crunch may be a tad softer, but still delicious.
- Sugar Alternatives: Replace granulated sugar with honey, maple syrup, or coconut sugar. Adjust the liquid content slightly to maintain the crust’s cohesion.
- Lemon Juice: Use bottled lemon juice in a pinch, but fresh lemon zest and juice give a brighter, more vibrant flavor that’s worth the squeeze.
- Egg-Free: Incorporate applesauce or silken tofu as binding agents. The filling will be a bit denser, and you might lose some lift.
- Butter: Substitute with melted coconut oil or a neutral oil like canola. The crust might be slightly less rich but still satisfying.
- Toppings: Fresh berries, toasted nuts, or a drizzle of chocolate can elevate the bars—feel free to experiment with what you have on hand.
Equipment & Tools
- 9×13 inch baking pan: Holds the crust and filling, easy to slice into bars.
- Parchment paper: Prevents sticking and makes removal easier.
- Food processor or zip-top bag and rolling pin: Crush graham crackers uniformly.
- Mixing bowls: Combine crust ingredients and mix filling.
- Electric mixer or whisk: Cream cheese and sugar smoothly.
- Rubber spatula: Spread filling evenly and fold ingredients.
- Cooling rack: Allow bars to cool evenly without sogginess.
- Sharp knife: Cleanly slice into bars.
Step-by-step guide to cheesecake bars
- Preheat your oven to 175°C (350°F). Line a 9×13 inch baking pan with parchment paper, leaving an overhang for easy removal.
- In a bowl, pulse 200g graham crackers until finely ground. Mix in 100g melted butter and a pinch of salt until it resembles damp sand. Press evenly into the bottom of the prepared pan. Bake for 10 minutes, then set aside to cool slightly.
- In a large mixing bowl, beat 400g softened cream cheese with 150g granulated sugar until smooth and creamy, about 2-3 minutes. Add 2 large eggs one at a time, beating well after each addition. Mix in 1 teaspoon vanilla extract and 1 tablespoon lemon juice until just combined.
- Pour the cream cheese filling over the cooled crust, spreading evenly. Tap the pan gently to release air bubbles. Bake for 25-30 minutes, or until the edges are set but the center jiggles slightly when moved.
- Check the crust during baking—if it starts to brown too quickly, tent with foil. If the filling cracks excessively, lower the oven temperature by 5°C (10°F) and bake a little longer.
- Remove from oven and let cool completely in the pan on a wire rack. Once cooled, refrigerate uncovered for at least 4 hours, preferably overnight, to set fully.
- Before serving, slice into bars using a sharp knife, wiping between cuts for clean edges. Garnish with berries or a sprinkle of sea salt for contrast if desired.
- For a crispy crust, ensure the crust is baked fully before adding the filling. If the crust gets soggy, bake it a few minutes longer or brush with a little melted butter and bake again.
- If the filling cracks or bubbles excessively, reduce oven temperature slightly or bake in a water bath to maintain even heat.
- Store leftovers in an airtight container in the fridge for up to 3 days. For longer storage, freeze wrapped bars for up to a month, then thaw in the fridge before serving.
Refrigerate the bars uncovered until fully chilled, at least 4 hours or overnight. Slice with a sharp knife, wiping clean between cuts. Plate and serve directly from the fridge for best texture.
How to Know It’s Done
- Crust should be golden and firm when baked.
- Filling should be set around the edges but slightly jiggly in the center.
- Top should be smooth, with no cracks or bubbles.
Crunchy Cheesecake Bars
Ingredients
Equipment
Method
- Line your baking pan with parchment paper, leaving an overhang for easy removal, and preheat your oven to 175°C (350°F).
- Place the graham crackers in a food processor or seal them in a zip-top bag and crush with a rolling pin until finely ground.
- Transfer the crushed crackers to a bowl, then mix in the melted butter and a pinch of salt until the mixture feels like damp sand.
- Press this mixture evenly into the bottom of your prepared pan, using the back of a spoon or a flat spatula, and bake for 10 minutes to set the crust.
- While the crust bakes, beat the softened cream cheese and sugar together in a large bowl with an electric mixer until smooth and creamy, about 2-3 minutes.
- Add the eggs one at a time, beating well after each addition, until the mixture is smooth and slightly fluffy.
- Mix in the vanilla extract and lemon juice until just combined, then fold gently to incorporate everything evenly.
- Pour the creamy filling over the baked crust, spreading it out with a spatula to create an even layer.
- Bake for 25-30 minutes, or until the edges are set but the center still jiggles slightly when gently shaken.
- Remove from the oven, let cool completely on a wire rack, then refrigerate uncovered for at least 4 hours or overnight to set fully.
- Once chilled, lift the bars out of the pan using the parchment overhang, then slice into squares with a sharp knife, wiping between cuts for clean edges.
- Top with fresh berries or a sprinkle of sea salt if desired, then serve and enjoy that perfect crunch with creamy filling in every bite.
Notes
Pro tips for perfect cheesecake bars
- Use room temperature ingredients for a smoother, more even filling that bakes consistently.
- Chill the crust before adding the filling to prevent sogginess and maintain crunch.
- Tap the filled pan gently on the counter to release air bubbles and ensure an even top.
- Bake until the edges are golden and the center jiggles just slightly—residual heat finishes the job.
- If cracks form, lower oven temperature or bake in a water bath to keep heat gentle and even.
- Let the bars cool completely in the pan before refrigerating; this helps set the filling without cracks.
- Use a sharp knife, wiping between cuts for clean, professional-looking bars.
Common cheesecake bar mistakes and fixes
- TOO SOFT CRUST: Chill crust before filling, or it may turn soggy during baking.
- UNDER-BAKED FILLING: Bake until just set; too runny means it needs more time.
- OVER-BAKED: Watch for golden edges; over-baking causes cracks and dryness.
- CRACKED TOPS: Avoid sudden temperature changes; bake in a water bath if cracks form.
Quick fixes and pantry swaps
- If crust is soggy, splash it with a little more melted butter and bake 5 minutes longer.
- When filling cracks, patch with a dab of extra filling and smooth with a spatula.
- DUMPED too much lemon? Shield with a dollop of whipped cream to balance acidity.
- Over-torched edges? Slice away the burnt parts and reduce oven temperature for next batch.
- When in doubt, pantry swap: swap graham crackers for digestive biscuits for a different crunch and flavor.
Prep, store, and reheat tips
- Prepare the crust and bake it a day in advance for extra crunch, then cool completely before storing in an airtight container at room temperature for up to 24 hours.
- Assemble and refrigerate the filled bars uncovered overnight; the chilled filling firms up for cleaner slicing and better texture.
- Store leftovers in an airtight container in the fridge for up to 3 days; the flavors deepen slightly, and the texture remains creamy and firm.
- Reheat slices briefly in the microwave—about 10 seconds—until just warm and the filling softens, but avoid overheating to keep the crust crispy.
- For best texture, serve bars straight from the fridge or let sit at room temperature for 10 minutes before slicing, to soften the filling slightly and enhance flavor.
Top questions about cheesecake bars
1. Can I use light cream cheese?
Use full-fat cream cheese for the best smoothness and richness, but light versions can work with a slightly softer texture.
2. Can I substitute graham crackers?
Yes, substituting graham crackers with digestive biscuits gives a similar crunch, but the flavor will be a bit different, more buttery and less sweet.
3. How do I know when it’s done?
Bake until the edges are golden and the center jiggles slightly—this means it’s perfectly cooked and set without overbaking.
4. How long should I chill the bars?
Chill the bars uncovered in the fridge overnight to fully set the filling and keep the crust crisp when sliced.
5. What if my crust is soggy?
If the crust turns soggy, bake it a few extra minutes or brush with butter and bake again for added crunch.
6. Why should eggs be at room temperature?
Use room temperature eggs to ensure a smooth, evenly baked filling without cracks or lumps.
7. How do I get neat cuts?
A sharp knife wiped clean between cuts will give you clean, professional-looking bars without tearing or smudging.
8. How should I store leftovers?
Refrigerate leftovers for up to 3 days; for longer storage, freeze wrapped bars for up to a month, then thaw in fridge.
9. Can I reheat cheesecake bars?
To reheat, microwave for about 10 seconds until slightly soft, which highlights the creamy texture without melting the crust.
10. How do I prevent cracking?
If cracks appear on top, lowering the oven temperature slightly or using a water bath during baking can help prevent this.
These cheesecake bars are a little triumph every time I make them. The crunch of the crust paired with that rich, tangy filling feels just right, especially on days when I need a simple, honest dessert. They remind me that good things come from a bit of patience and some honest kitchen tweaks.
In the end, it’s about those small moments—cutting into a perfectly firm bar, catching that crisp snap, and sharing a treat that feels like a quiet victory. No matter the occasion, these bars make the simple act of dessert feel a little more special, even if it’s just a weekday at home. And honestly, that’s enough.