
Making these chocolate fudge bars is like hitting a reset button for my mind. When life feels chaotic, I find comfort in the rhythmic process of melting, mixing, and pouring. It’s a quiet act that helps me slow down and reconnect with something sweet and simple.
There’s something almost meditative about working with rich chocolate and buttery textures. Each step feels deliberate, turning a rushed afternoon into a mindful ritual. Plus, knowing I can control the ingredients makes this treat feel a little more nourishing, even when I need a quick escape.
Focusing on how making homemade chocolate fudge bars can be a therapeutic act, turning a simple baking session into a mindful ritual that offers comfort and creative control amid hectic days.
The story behind this recipe
- This recipe was born out of a late-night craving after rummaging through my pantry, looking for comfort. I wanted something that was rich, but also quick enough to whip up without fuss. The first batch was a happy accident—just melting chocolate with butter and throwing in some nuts—turned out to be exactly what I needed that evening.
- Over time, I tweaked it, adding a touch of sea salt and a splash of vanilla to deepen the flavor. It’s become my go-to when I need a little moment of calm and sweetness. Sharing it with friends always sparks memories of cozy weekends and lazy afternoons.
- heading
- story_type
Ingredient breakdown
- Unsweetened cocoa powder: I love that intense, slightly bitter kick it adds—opt for a Dutch-processed if you want a smoother, less acidic flavor, but natural cocoa gives a brighter, more lively chocolate punch.
- Heavy cream: It makes the fudge extra velvety and rich; if you skip it, the texture gets a bit crumbly, so consider full-fat milk for a lighter, less creamy version, though it won’t be as luscious.
- Butter: I use unsalted, which lets the chocolate shine, but salted butter can add a subtle depth—just cut back on any additional salt in the recipe to balance that out.
- Sugar: Granulated works best to control sweetness, but if you’re after a less sweet fudge, try reducing it slightly or swapping with honey for a richer, more complex flavor—be mindful of moisture content.
- Vanilla extract: A splash enhances the chocolate’s richness, but a tiny bit of espresso powder can deepen the chocolate flavor without making it taste coffee-like; experiment for a flavor boost.
- Chocolate chips: I prefer semi-sweet for balance, but dark or even milk chocolate chips work if you want a different sweetness level—just watch the melting process to prevent burning.
- Sea salt flakes: A pinch on top or mixed in elevates the flavor with a burst of salty contrast—trust me, it’s the finishing touch that ties everything together.
Spotlight on key ingredients
Unsweetened cocoa powder:
- I love that intense, slightly bitter kick it adds—opt for a Dutch-processed if you want a smoother, less acidic flavor, but natural cocoa gives a brighter, more lively chocolate punch.
- Heavy cream: It makes the fudge extra velvety and rich; if you skip it, the texture gets a bit crumbly, so consider full-fat milk for a lighter, less creamy version, though it won’t be as luscious.
- Butter: I use unsalted, which lets the chocolate shine, but salted butter can add a subtle depth—just cut back on any additional salt in the recipe to balance that out.
Chocolate chips and salt:
- Chocolate chips: I prefer semi-sweet for balance, but dark or even milk chocolate chips work if you want a different sweetness level—just watch the melting process to prevent burning.
- Sea salt flakes: A pinch on top or mixed in elevates the flavor with a burst of salty contrast—trust me, it’s the finishing touch that ties everything together.
- Sugar: Granulated works best to control sweetness, but if you’re after a less sweet fudge, try reducing it slightly or swapping with honey for a richer, more complex flavor—be mindful of moisture content.
Notes for ingredient swaps
- Dairy-Free: Substitute coconut milk or coconut cream for heavy cream. The fudge will be slightly less rich but still luscious.
- Vegan Butter: Use plant-based margarine or vegan butter sticks. Expect a subtle difference in mouthfeel and flavor.
- Sweetener: Replace granulated sugar with maple syrup or agave nectar. Keep in mind it may alter the texture and sweetness level.
- Chocolate: Swap semi-sweet chips with dairy-free dark chocolate or 70% cacao. It intensifies the deep chocolate flavor, with a hint of bitterness.
- Flavor Enhancer: Add a splash of espresso or coffee extract to deepen chocolate notes—just a tiny drop for a smoky boost.
- Salt: Use Himalayan pink salt or smoked sea salt for a different salty contrast—each will add a unique flavor profile.
- Optional Nuts: Mix in chopped pecans, hazelnuts, or dried fruit for texture and bursts of flavor—adjust quantity to taste.
Equipment & Tools
- Saucepan: To melt butter and chocolate smoothly over low heat.
- Spatula: To stir ingredients and spread batter evenly.
- Parchment paper: To prevent sticking and make removing the fudge easier.
- Square baking pan: To shape and set the fudge evenly.
- Sharp knife: To cut clean, precise bars.
Step-by-step guide to fudge bars
- Equipment & Tools: Line a 20x20cm (8×8 inch) square baking pan with parchment paper—this keeps the fudge from sticking and makes for easy removal.
- Melt butter and chocolate: In a saucepan over low heat (about 45°C/113°F), melt 1 cup unsalted butter and 1 1/2 cups semi-sweet chocolate chips, stirring constantly until smooth and shiny. Smell that rich cocoa aroma, and watch for a glossy sheen.
- Mix in sugar and vanilla: Remove from heat, then stir in 1 1/2 cups granulated sugar and 1 teaspoon vanilla extract. Keep stirring until fully combined and the mixture is thickening, about 2 minutes. If it looks grainy, gently warm it a bit more—no boiling, just warmth.
- Incorporate cream: Pour in 1/2 cup heavy cream, stirring well. It will loosen the mixture into a velvety batter. Keep stirring until smooth, about 1 minute. If it’s too thick, add a splash more cream.
- Pour into pan: Transfer the batter into the prepared pan. Use a spatula to spread evenly, pressing gently to level the surface. You should see a shiny, smooth top with no air bubbles. If it’s uneven, tap the pan on the counter to settle.
- Chill and set: Place the pan in the fridge for at least 2 hours, or until firm. The fudge should feel firm but not brittle when you press lightly.
- Cut and serve: Remove from fridge, lift out using the parchment edges, and cut into bars with a sharp knife. Wipe the knife clean between cuts to keep edges tidy.
- Resting & Finishing: Let the bars sit at room temperature for 5 minutes before serving—this softens the edges slightly for perfect bites. Plate and enjoy with a cup of coffee or a glass of milk.
Chill the fudge for at least 2 hours until firm. Let sit at room temperature for 5 minutes before slicing. Serve directly from the fridge or at room temp for softer bites.
How to Know It’s Done
- The chocolate mixture is glossy and thickens as it cools.
- The batter holds shape when poured into the pan, not runny.
- Fudge feels firm but not brittle when pressed after chilling.
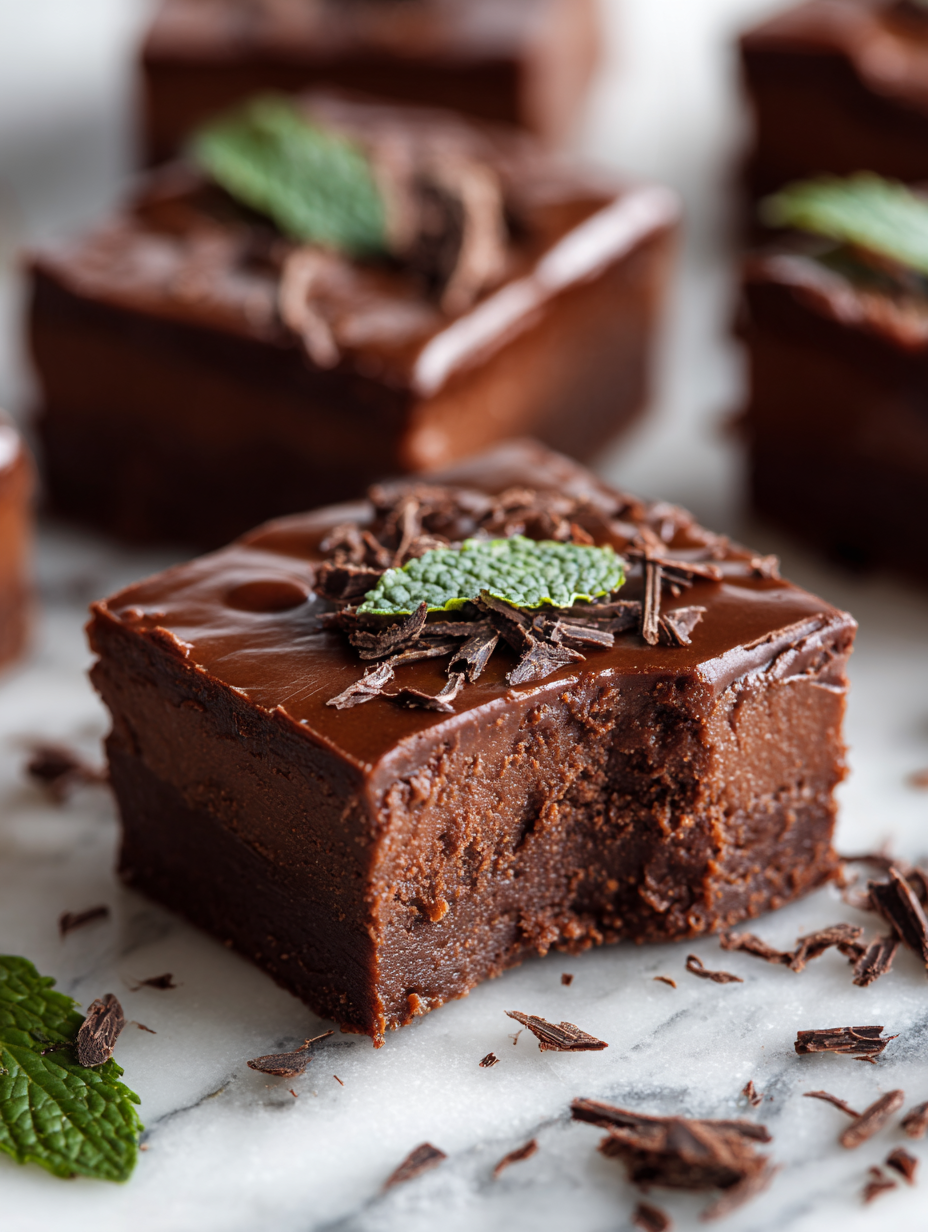
Chocolate Fudge Bars
Ingredients
Equipment
Method
- Line a square baking pan with parchment paper, leaving overhang for easy removal.
- Place a saucepan over low heat, and melt the butter along with the chocolate chips, stirring constantly until the mixture is glossy and completely smooth, filling your kitchen with a rich, chocolatey aroma.
- Remove the saucepan from heat, then stir in the granulated sugar and vanilla extract, mixing until the sugar dissolves and the batter thickens slightly, about 2 minutes.
- Pour in the heavy cream and stir well, creating a smooth, velvety batter that’s thick but pourable, with a shiny, luscious appearance.
- Incorporate the cocoa powder gradually, stirring until fully blended and the mixture turns a deep, uniform chocolate color.
- Pour the batter into the prepared pan and use a spatula to spread it evenly, smoothing the surface as you go, until it’s level and glossy.
- Sprinkle a pinch of sea salt flakes on top for that perfect salty-sweet contrast, pressing them lightly into the surface.
- Place the pan in the fridge and chill for at least 2 hours until the fudge is firm and set.
- Once chilled, lift the fudge out of the pan using the parchment overhang and transfer to a cutting board.
- Use a sharp knife to cut the fudge into squares, wiping the blade clean between cuts for neat edges.
- Arrange the fudge bars on a plate and let sit at room temperature for 5 minutes before serving to soften the edges for a perfect bite.
Tips and tricks for perfect fudge
- Use high-quality chocolate chips for a rich, deep flavor that melts smoothly.
- Keep the heat low when melting to prevent burning and preserve that glossy finish.
- Stir constantly during melting to avoid lumps and achieve a silky, smooth texture.
- Chill the fudge in the fridge until just firm—about 2 hours—to prevent cracks when cutting.
- Wipe your knife clean between cuts for sharp, clean edges without smudges.
Common mistakes and how to fix them
- FORGOT to preheat oven → Always preheat oven for even baking and better texture.
- DUMPED sugar too quickly → Add sugar gradually, stirring constantly for smoothness.
- OVER-TOASTED chocolate → Melt over low heat, watch for shiny, smooth consistency.
- MIXED ingredients too roughly → Gentle folding keeps the fudge creamy and prevents air bubbles.
Quick fixes and pantry swaps
- When mixture is too thick → Splash in a touch more cream to loosen it.
- If fudge is grainy → Gently rewarm and stir until smooth again.
- Splash melted chocolate on the counter → Shield with a damp cloth to prevent cracking.
- Dumped too much salt → Rinse with water, then re-mix for balanced flavor.
- Over-torched chocolate → Rescue with a spoonful of warm cream, stir until glossy.
Prep, store, and reheat tips
- Preparing the fudge mixture a day in advance allows flavors to meld; store in an airtight container in the fridge, where it will stay fresh for up to 24 hours.
- Once set, the fudge bars can be wrapped tightly in plastic wrap or stored in an airtight container; they keep well in the fridge for 5-7 days, maintaining their rich, fudgy texture.
- For longer storage, freeze the bars in an airtight container or zip-top bag for up to 3 months. Thaw in the fridge before serving for best texture.
- Reheat slices gently in the microwave for about 10-15 seconds until just warm and slightly gooey—perfect for that fresh-from-the-oven feel. Watch for melting chocolate and avoid overheating, which can cause graininess.
Top questions about fudge bars
1. Can I make these fudge bars dairy-free?
Yes, you can substitute coconut oil for butter, but expect a slightly different texture and flavor, more tropical and less creamy.
2. Can I use dark chocolate chips?
Using dark chocolate instead of semi-sweet will give a more intense, less sweet fudge with a richer cocoa flavor.
3. How long should I chill the fudge?
Chill the fudge for at least 2 hours until firm. It should feel set and slightly tacky when pressed gently.
4. My fudge is too crumbly, what do I do?
If your fudge is crumbly, try warming it slightly or adding a splash more cream to loosen the mixture.
5. How do I melt chocolate without burning it?
To prevent burning, melt chocolate over low heat and stir constantly, watching for a glossy, smooth finish.
6. Should I add salt to the fudge?
Add a pinch of sea salt flakes on top after pouring for a perfect salty-sweet contrast that enhances the chocolate flavor.
7. How do I store fudge bars?
You can store fudge in the fridge for up to a week or freeze for 3 months; bring to room temperature before serving for best texture.
8. Can I make fudge ahead of time?
Wrap individual bars tightly in plastic wrap or store in an airtight container to keep them fresh and prevent drying out.
9. How do I reheat fudge?
Reheat slices in the microwave for about 10 seconds until warm and gooey, but watch so they don’t overheat and become grainy.
10. How can I avoid air bubbles in my fudge?
Mixing ingredients too roughly introduces air bubbles and affects texture. Fold gently for a smooth, dense fudge.
Making these fudge bars isn’t just about satisfying a sweet tooth; it’s a chance to slow down and enjoy a simple act of creation. The rich aroma of melting chocolate and buttery warmth fills the kitchen, grounding me in the moment. Every bite reminds me of the small, mindful acts that turn everyday routines into comforting rituals.
In times when I need a quick escape, these bars offer a quiet pause—a little piece of homemade comfort that’s easy to share and even easier to enjoy. No matter the occasion, they bring a touch of familiarity and warmth, making each moment a bit sweeter.