Preheat your oven to 175°C (350°F). Line your baking pan with parchment paper, leaving some overhang for easy removal.
Place the oats in a skillet over medium heat and toast, stirring frequently, until they turn golden and smell nutty—about 5 minutes.
While the oats toast, pit and chop the dates into small pieces, making sure they’re evenly sized for easy mixing.
In a large mixing bowl, combine the toasted oats, chopped dates, melted butter, honey or maple syrup, baking soda, vanilla extract, and a pinch of sea salt. Mix thoroughly until everything is evenly coated and sticky.
Press the mixture firmly into the prepared baking pan, spreading it out evenly with the back of a spoon or spatula. Make sure it’s about 1/2 inch thick for a good balance of chewy and crunchy textures.
Bake in the preheated oven for 15-20 minutes, until the edges are golden brown and the top is set. You’ll notice a warm, caramel aroma filling your kitchen.
Remove the pan from the oven and let it cool for at least 20 minutes. This helps the bars firm up and makes slicing easier without crumbling.
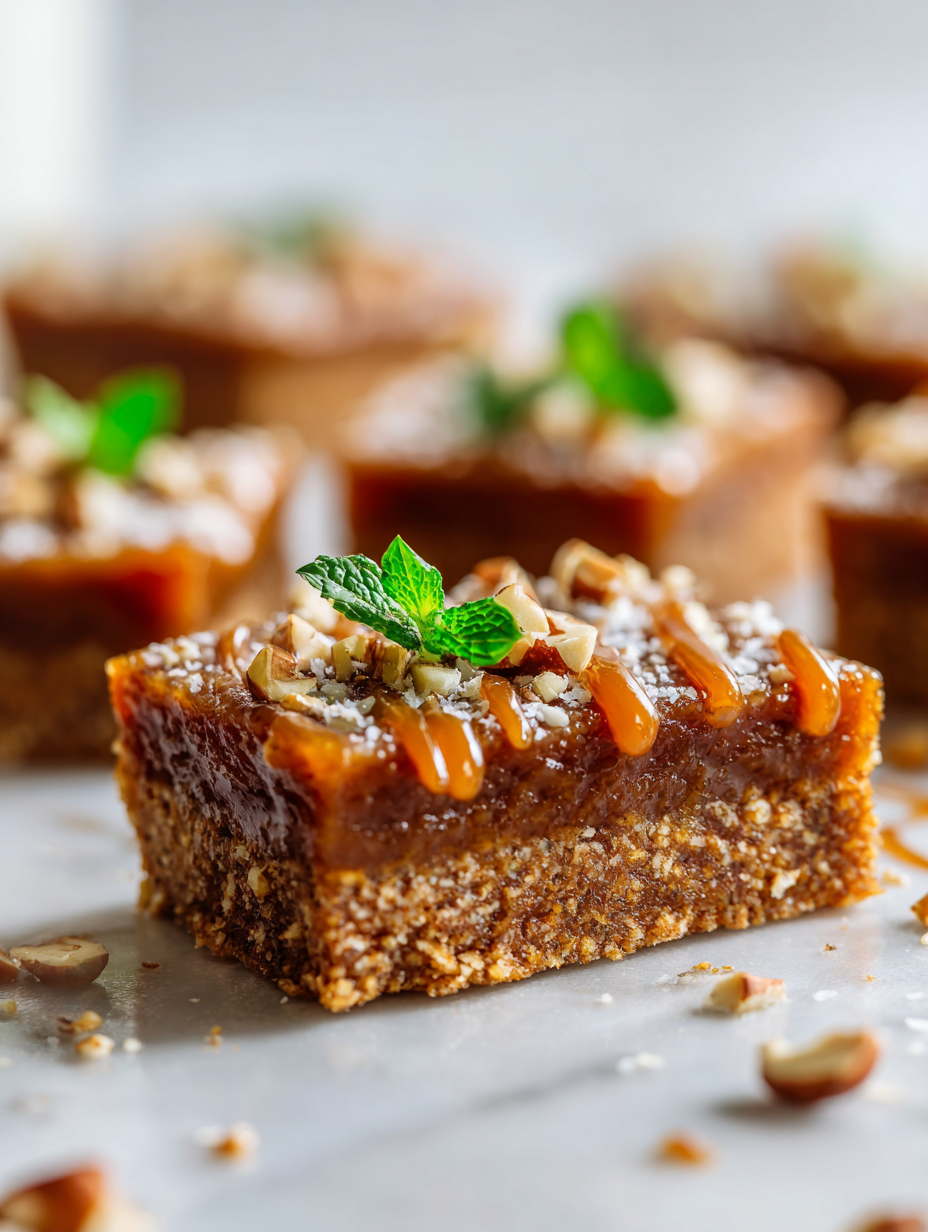
Once cooled, lift the entire slab out of the pan using the parchment overhang. Slice into squares or rectangles, about 1.5 inches each, revealing a golden crust with a sticky, chewy center.
Serve the date bars slightly warm or at room temperature, enjoying the contrasting textures of crunchy crust and gooey filling. Store leftovers in an airtight container for up to a week or freeze for longer freshness.